AMR Mod 4 : Call of Duty : Black Ops 6 및 Warzone의 카모 및 첨부 파일에 대한 포괄적 인 가이드
Call of Duty : Black Ops 6 및 Warzone의 시즌 1은 AMR Mod 4 저격통 소총을 소개하며, 다양한 카모와 첨부 파일이 완성되어 잠금 해제됩니다. 이 안내서는이 강력한 무기에 대한 모든 카모 및 애착을 얻는 방법을 자세히 설명합니다.
AMR 모드 4 카모 잠금 해제
멀티 플레이어 카모
아래 표는 각 멀티 플레이어 카모를 잠금 해제하기위한 요구 사항을 설명합니다.
| Camo Type | Camo Name | Unlock Requirement |
|---|---|---|
| Military Camos | Granite | 5 headshot kills with the AMR Mod 4 |
| Woodland | 10 headshot kills with the AMR Mod 4 | |
| Savanna | 15 headshot kills with the AMR Mod 4 | |
| Splinter | 20 headshot kills with the AMR Mod 4 | |
| Moss | 30 headshot kills with the AMR Mod 4 | |
| Saboteur | 40 headshot kills with the AMR Mod 4 | |
| Digital | 50 headshot kills with the AMR Mod 4 | |
| Tide | 75 headshot kills with the AMR Mod 4 | |
| Red Tiger | 100 headshot kills with the AMR Mod 4 | |
| Special Camos | Shadow Thorn | Unlock all Military Camos; 30 one-shot kills |
| Tidal Harmony | Unlock all Military Camos; 10 two-kill no reload streaks | |
| Mastery Camos | Gold | Unlock all Multiplayer Special Camos; 10 double kills |
| Diamond | Unlock Gold; Unlock Gold on 3 other Sniper Rifles; 10 three-kill no death streaks | |
| Dark Spine | Unlock Diamond; Unlock Diamond on 33 other weapons; 3 triple kills | |
| Dark Matter | Unlock Dark Spine; Unlock Dark Spine on 33 other weapons; 5 five-kill no death streaks |
좀비 카모

좀비 카모 요구 사항은 다음과 같습니다.
| Camo Type | Camo Name | Unlock Requirement |
|---|---|---|
| Military Camos | Slate | 100 critical kills with the AMR Mod 4 |
| Desert | 200 critical kills with the AMR Mod 4 | |
| Evergreen | 300 critical kills with the AMR Mod 4 | |
| Rugged | 400 critical kills with the AMR Mod 4 | |
| Grim | 600 critical kills with the AMR Mod 4 | |
| Stripe | 800 critical kills with the AMR Mod 4 | |
| Oceanic | 1000 critical kills with the AMR Mod 4 | |
| Whiteout | 1500 critical kills with the AMR Mod 4 | |
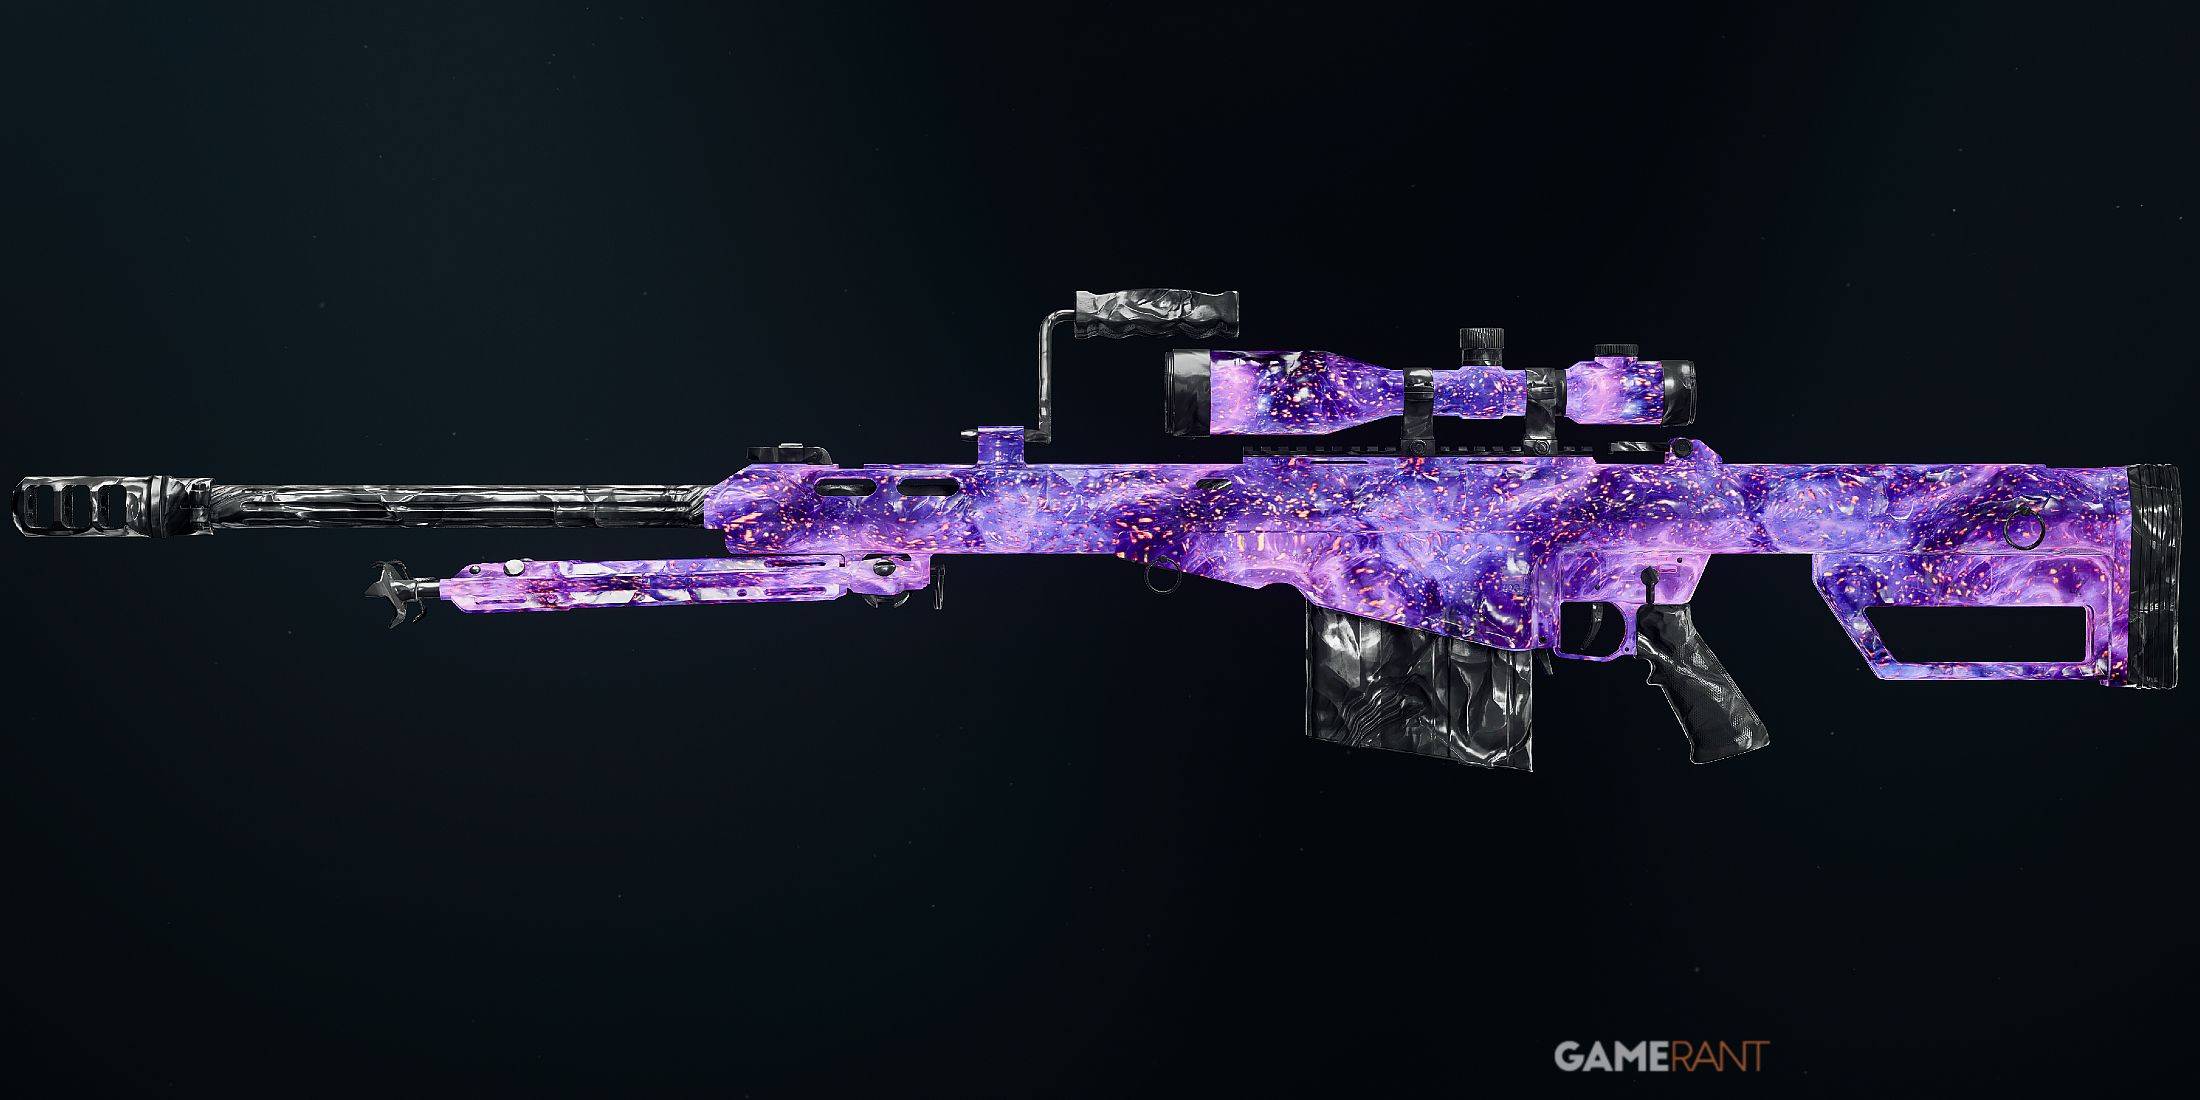
| Purple Tiger | 2000 critical kills with the AMR Mod 4 | |
| Special Camos | Scarthorn | Unlock all Military Camos; 15 five-kill rapid streaks |
| Marine Swirl | Unlock all Military Camos; 15 ten-kill no reload streaks | |
| Mastery Camos | Mystic Gold | Unlock both Special Camos; 15 ten-kill rapid streaks |
| Opal | Unlock Mystic Gold; Unlock Mystic Gold on 2 other Sniper Rifles; 30 Special Zombie kills | |
| Afterlife | Unlock Opal; Unlock Opal on 33 other weapons; 10 twenty-kill no damage streaks | |
| Nebula | Unlock Afterlife; Unlock Afterlife on 33 other weapons; 10 Elite Zombie eliminations |
Warzone Camos
Warzone Camo 잠금 해제 조건은 다음과 같습니다.
| Camo Type | Camo Name | Unlock Requirement |
|---|---|---|
| Military Camos | Quartz | 5 kills with the AMR Mod 4 |
| Tundra | 10 kills with the AMR Mod 4 | |
| Canyon | 15 kills with the AMR Mod 4 | |
| Pine | 20 kills with the AMR Mod 4 | |
| Undergrowth | 30 kills with the AMR Mod 4 | |
| Snakeskin | 40 kills with the AMR Mod 4 | |
| Siberia | 50 kills with the AMR Mod 4 | |
| Smolder | 75 kills with the AMR Mod 4 | |
| Blue Tiger | 100 kills with the AMR Mod 4 | |
| Special Camos | Bramblethorn | Unlock all Military Camos; 5 two-kill 30-second streaks |
| Sunlit Shoal | Unlock all Military Camos; 5 two-kill prone 20-second streaks | |
| Mastery Camos | Gold Tiger | Unlock both Special Camos; 5 Most Wanted eliminations |
| King's Ransom | Unlock Gold Tiger; Unlock Gold Tiger on 3 other Sniper Rifles; 5 three-kill no death streaks | |
| Catalyst | Unlock King's Ransom; Unlock King's Ransom on 33 other weapons; 5 kills with Stun/Flash/Shock Charge effect | |
| Abyss | Unlock Catalyst; Unlock Catalyst on 33 other weapons; 2 five-kill no death streaks |
AMR 모드 4 첨부 파일
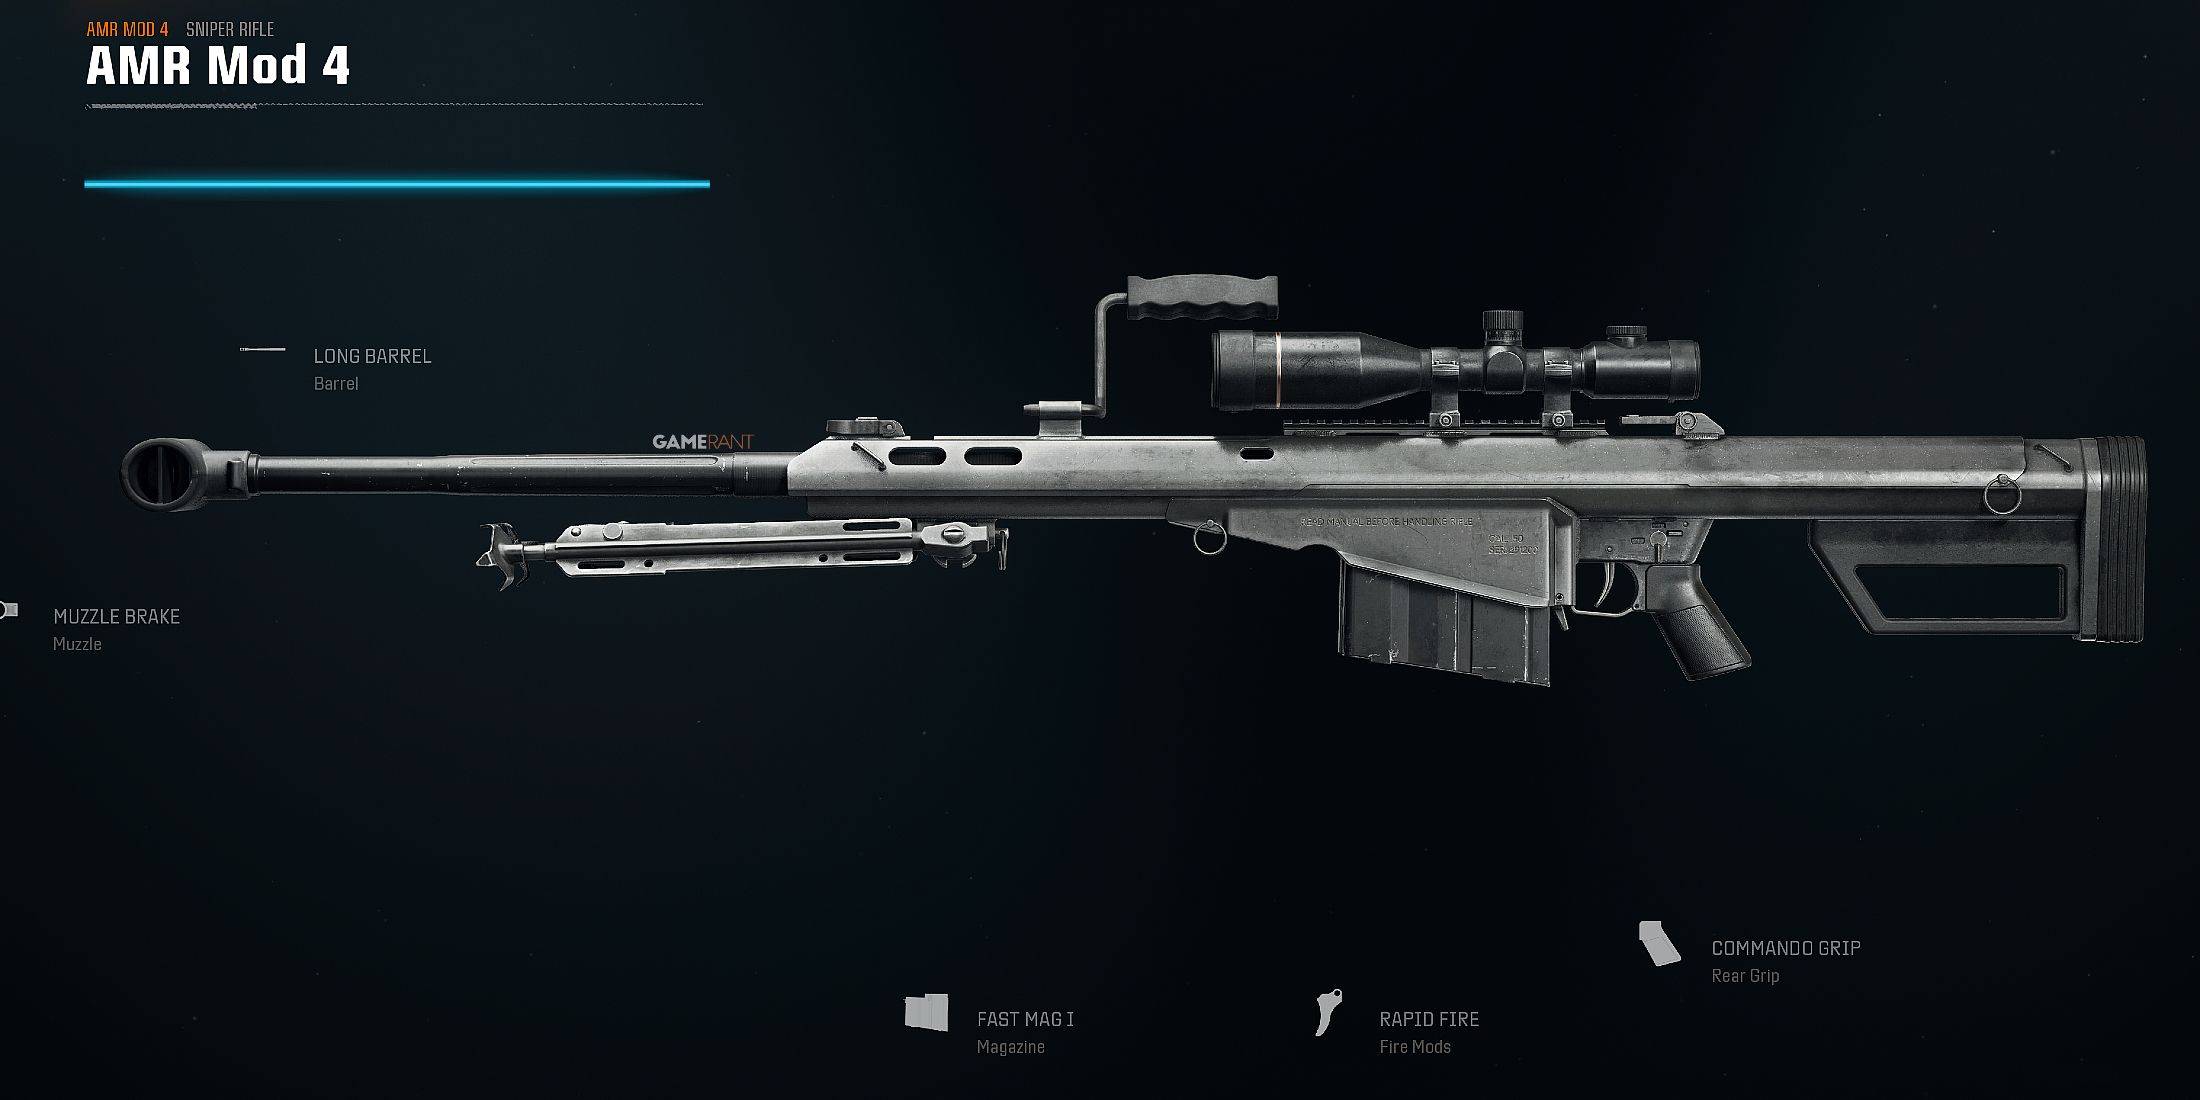
AMR MOD 4는 광범위한 사용자 정의를 제공합니다. 대부분의 첨부 파일은 무기 수준 진행을 통해 잠금 해제되는 반면 일부 광학은 다른 무기의 수준 진행과 관련이 있습니다.
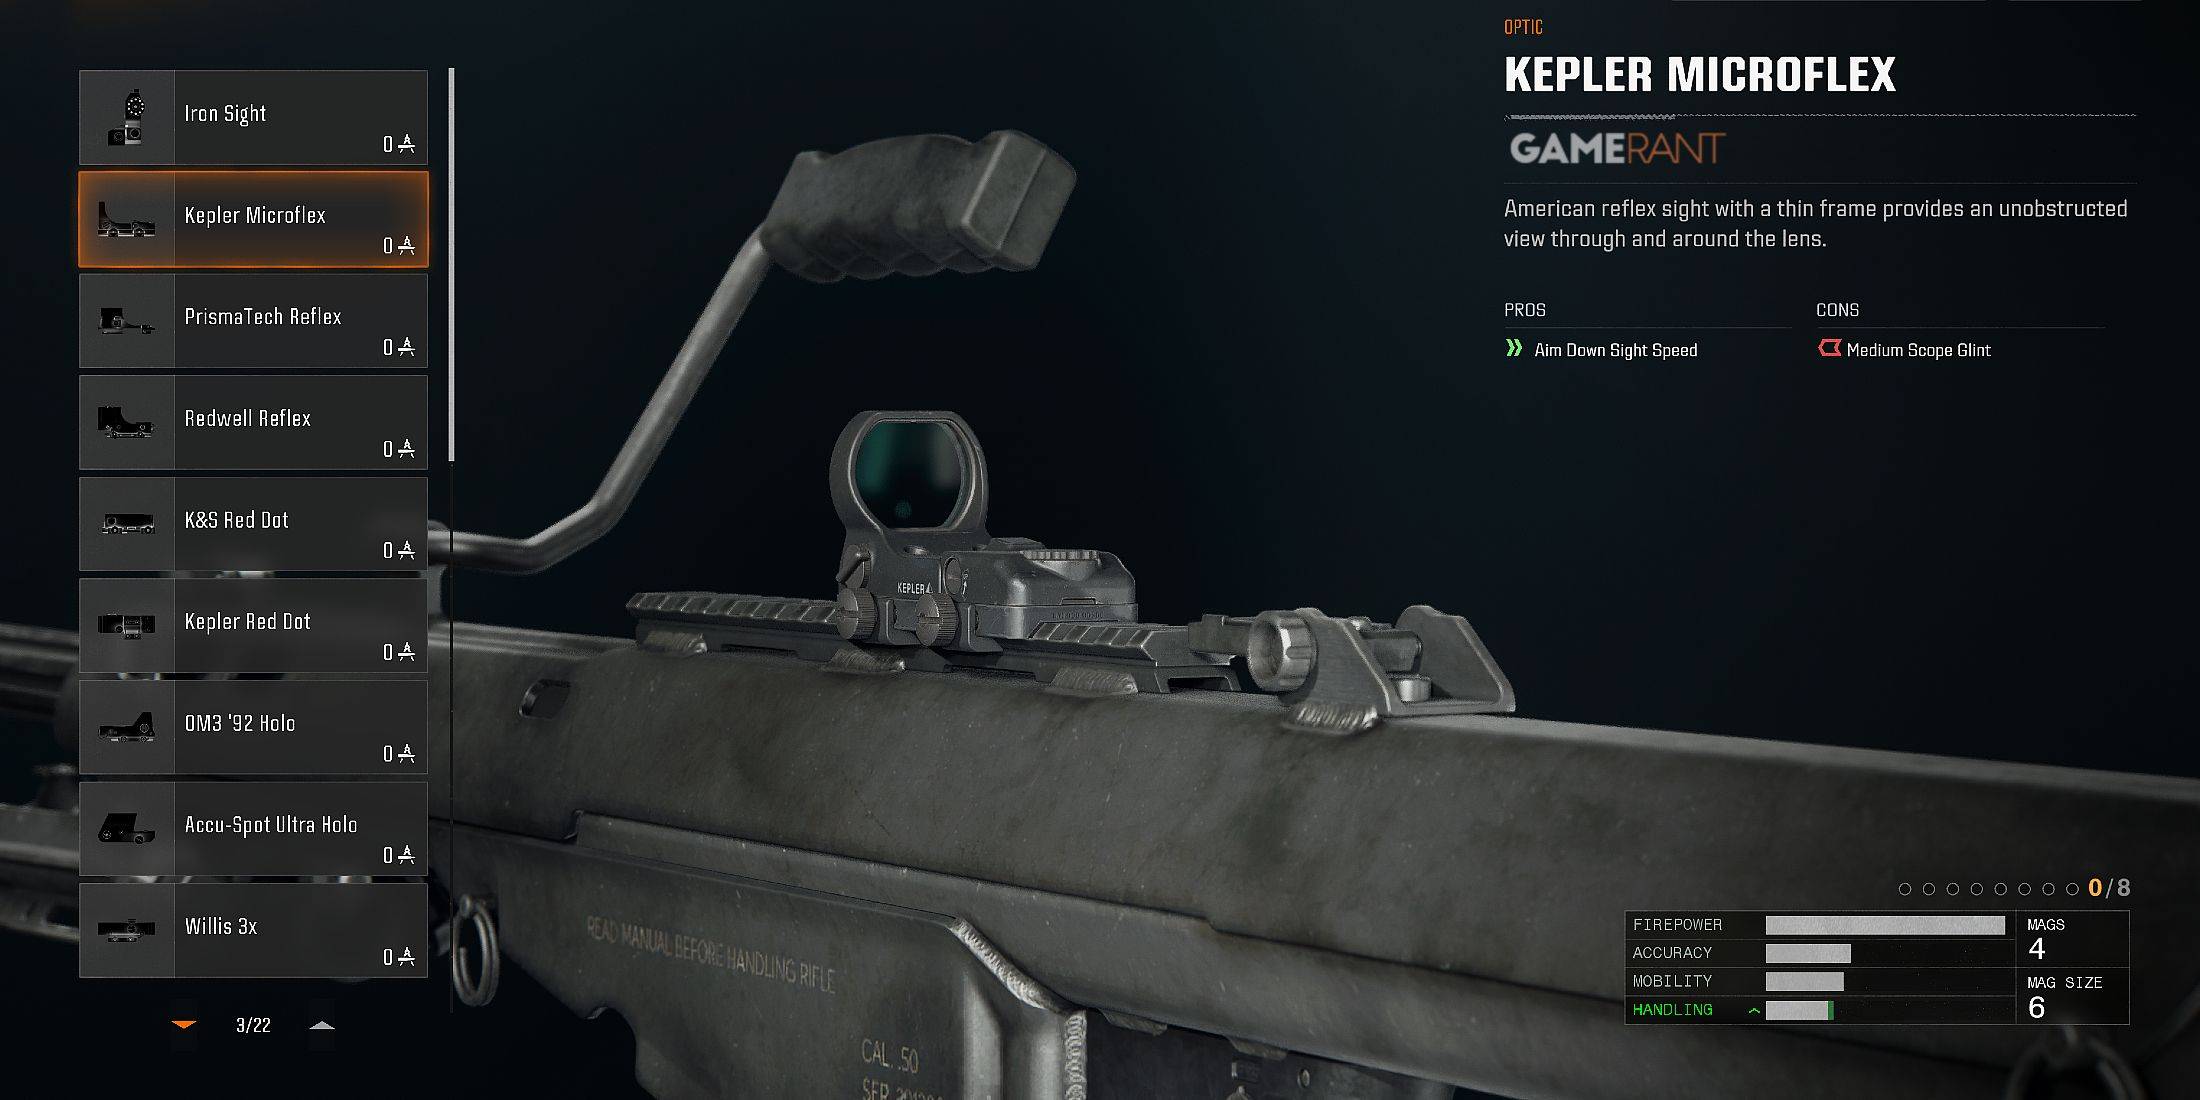
광학
| Attachment | Pros | Cons |
|---|---|---|
| Iron Sight | Improved Aim Down Sight Speed | |
| Kepler Microflex | Improved Aim Down Sight Speed | Medium Sniper Scope Glint |
| PrismaTech Reflex | Improved Aim Down Sight Speed | Medium Sniper Scope Glint |
| Redwell Reflex | Improved Aim Down Sight Speed | Medium Sniper Scope Glint |
| K&S Red Dot | Improved Aim Down Sight Speed | Large Sniper Scope Glint |
| Kepler Red Dot | Improved Aim Down Sight Speed | Large Sniper Scope Glint |
| OM3 '92 Holo | 1.5x Magnification, Improved ADS Speed | Large Sniper Scope Glint |
| ACCU-Spot Ultra Holo | 3x Magnification | Large Sniper Scope Glint |
| Willis 3x | 3x Magnification | Large Sniper Scope Glint |
| PrismaTech 4x | 4x Magnification | Large Sniper Scope Glint |
| Dobrych 4x | 4x Magnification | Large Sniper Scope Glint |
| K&S Thermal Holo | 1.5x Magnification, Thermal Vision | Large Sniper Scope Glint |
| Pinpoint Hybrid | Dual Optics Toggle, 4.5x Magnification | Large Sniper Scope Glint |
| PrismaPoint Hybrid | Dual Optics Toggle, 4.5x Magnification | Large Sniper Scope Glint |
| R&K Multizoom | 3x & 7x Magnification | Large Sniper Scope Glint, Reduced ADS Speed |
| Remuda Range Finder | 4.5x Magnification, Range Indicator | Large Sniper Scope Glint, Reduced ADS Speed |
| Blandwell 7x Scope | 7x Magnification | Large Sniper Scope Glint |
| Remuda Dual Zoom | 11x & 6x Magnification | Large Sniper Scope Glint |
| VMF Variable Scope | 12x, 4x, & 8x Magnification | Large Sniper Scope Glint, Reduced ADS Speed |
| Redwell Custom Zoom | 6x, 10x, & 14x Magnification | Large Sniper Scope Glint, Reduced ADS Speed |
| Otero Thermal 2x | 2x Magnification, Thermal Vision | Large Sniper Scope Glint, Reduced ADS Speed |
| Thermal 6x | 6x Magnification, Thermal Vision | Reduced ADS Speed |
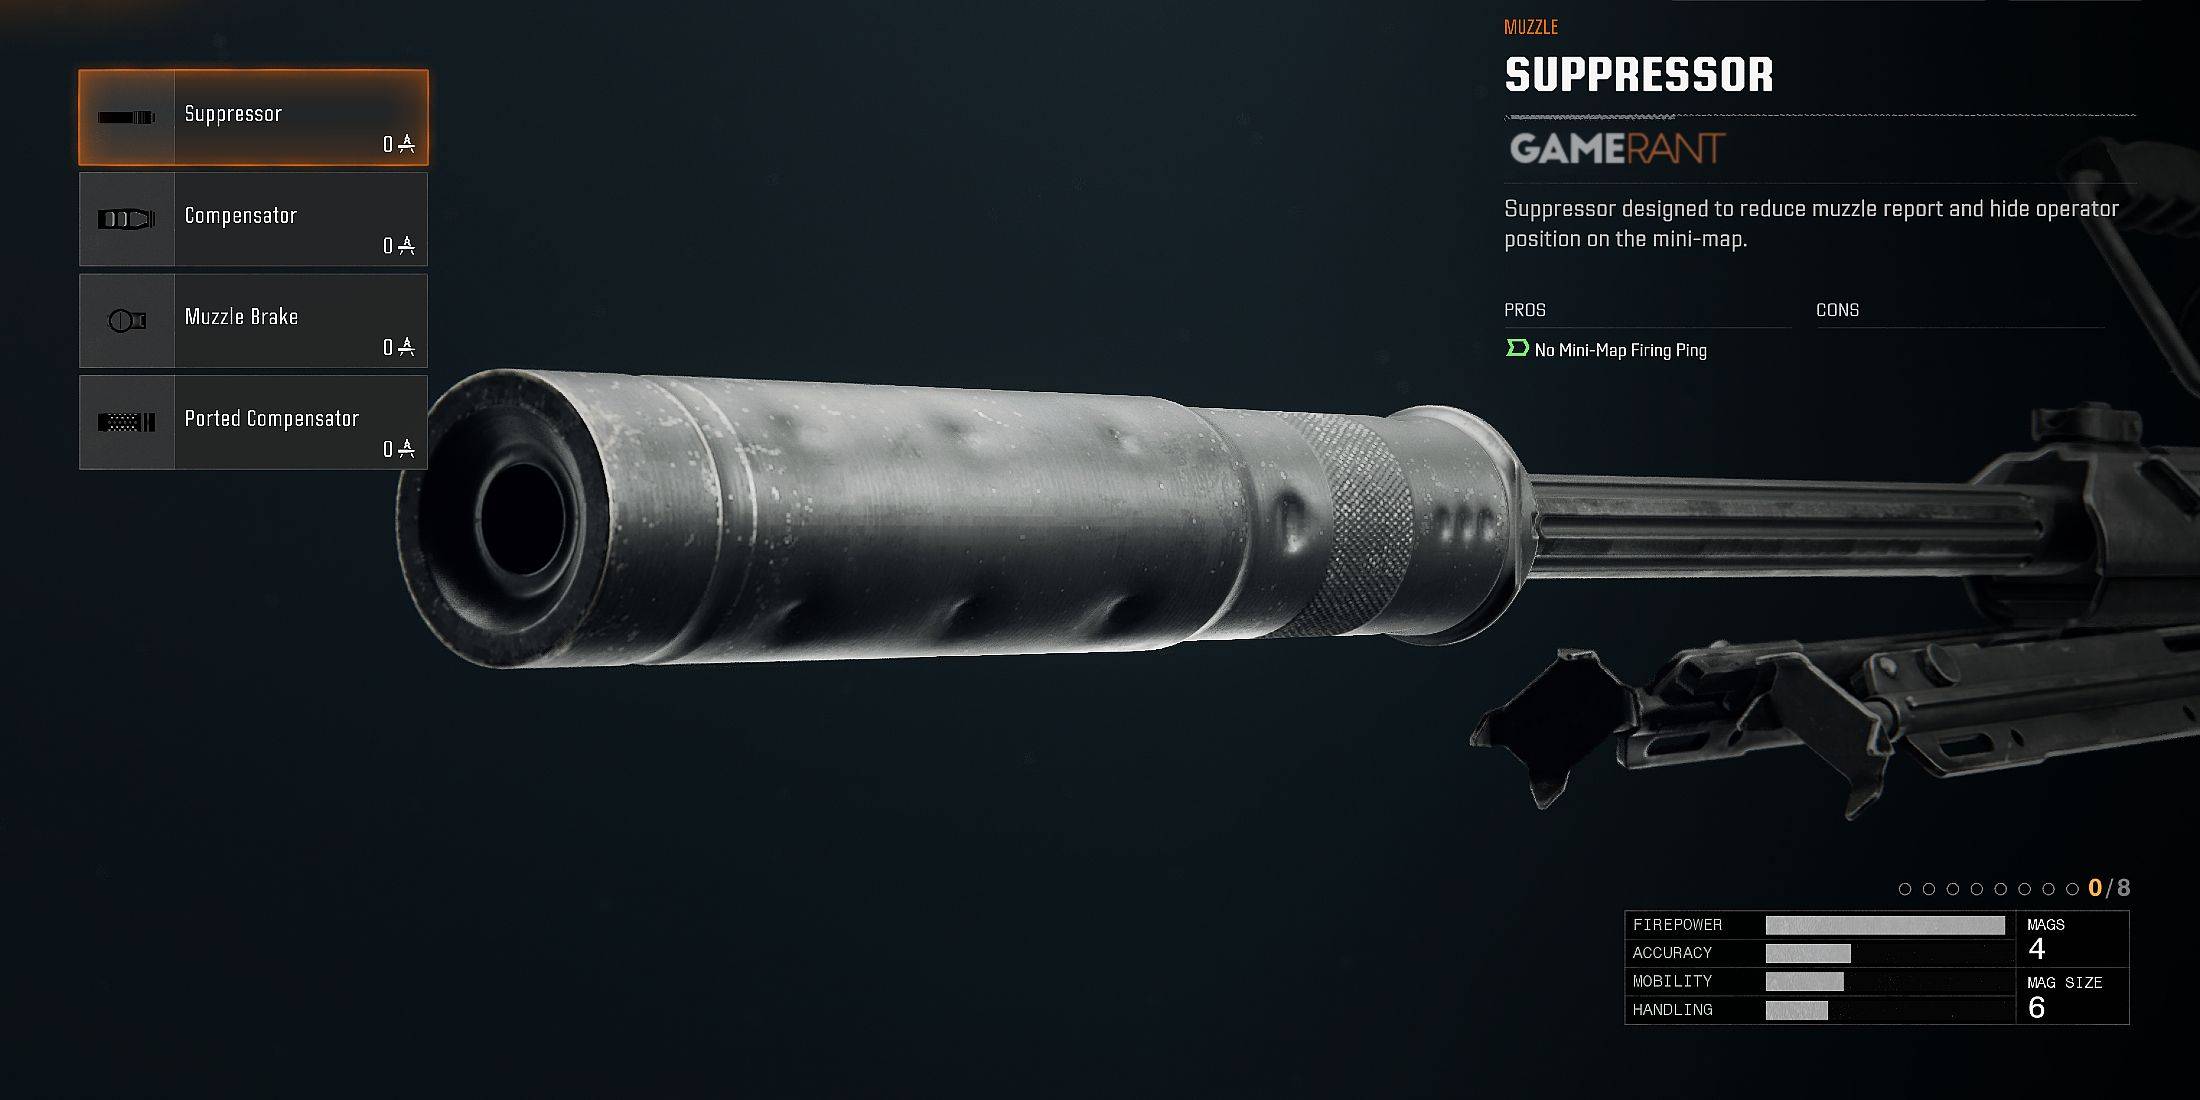
총구
| Attachment | Pros | Cons |
|---|---|---|
| Suppressor | No Minimap Ping When Firing | |
| Compensator | Improved Vertical Recoil Control | |
| Muzzle Break | Improved First Shot Recoil Control, Kick Reset Speed | |
| Ported Compensator | Improved First Shot Recoil Control, Vertical Recoil Control |
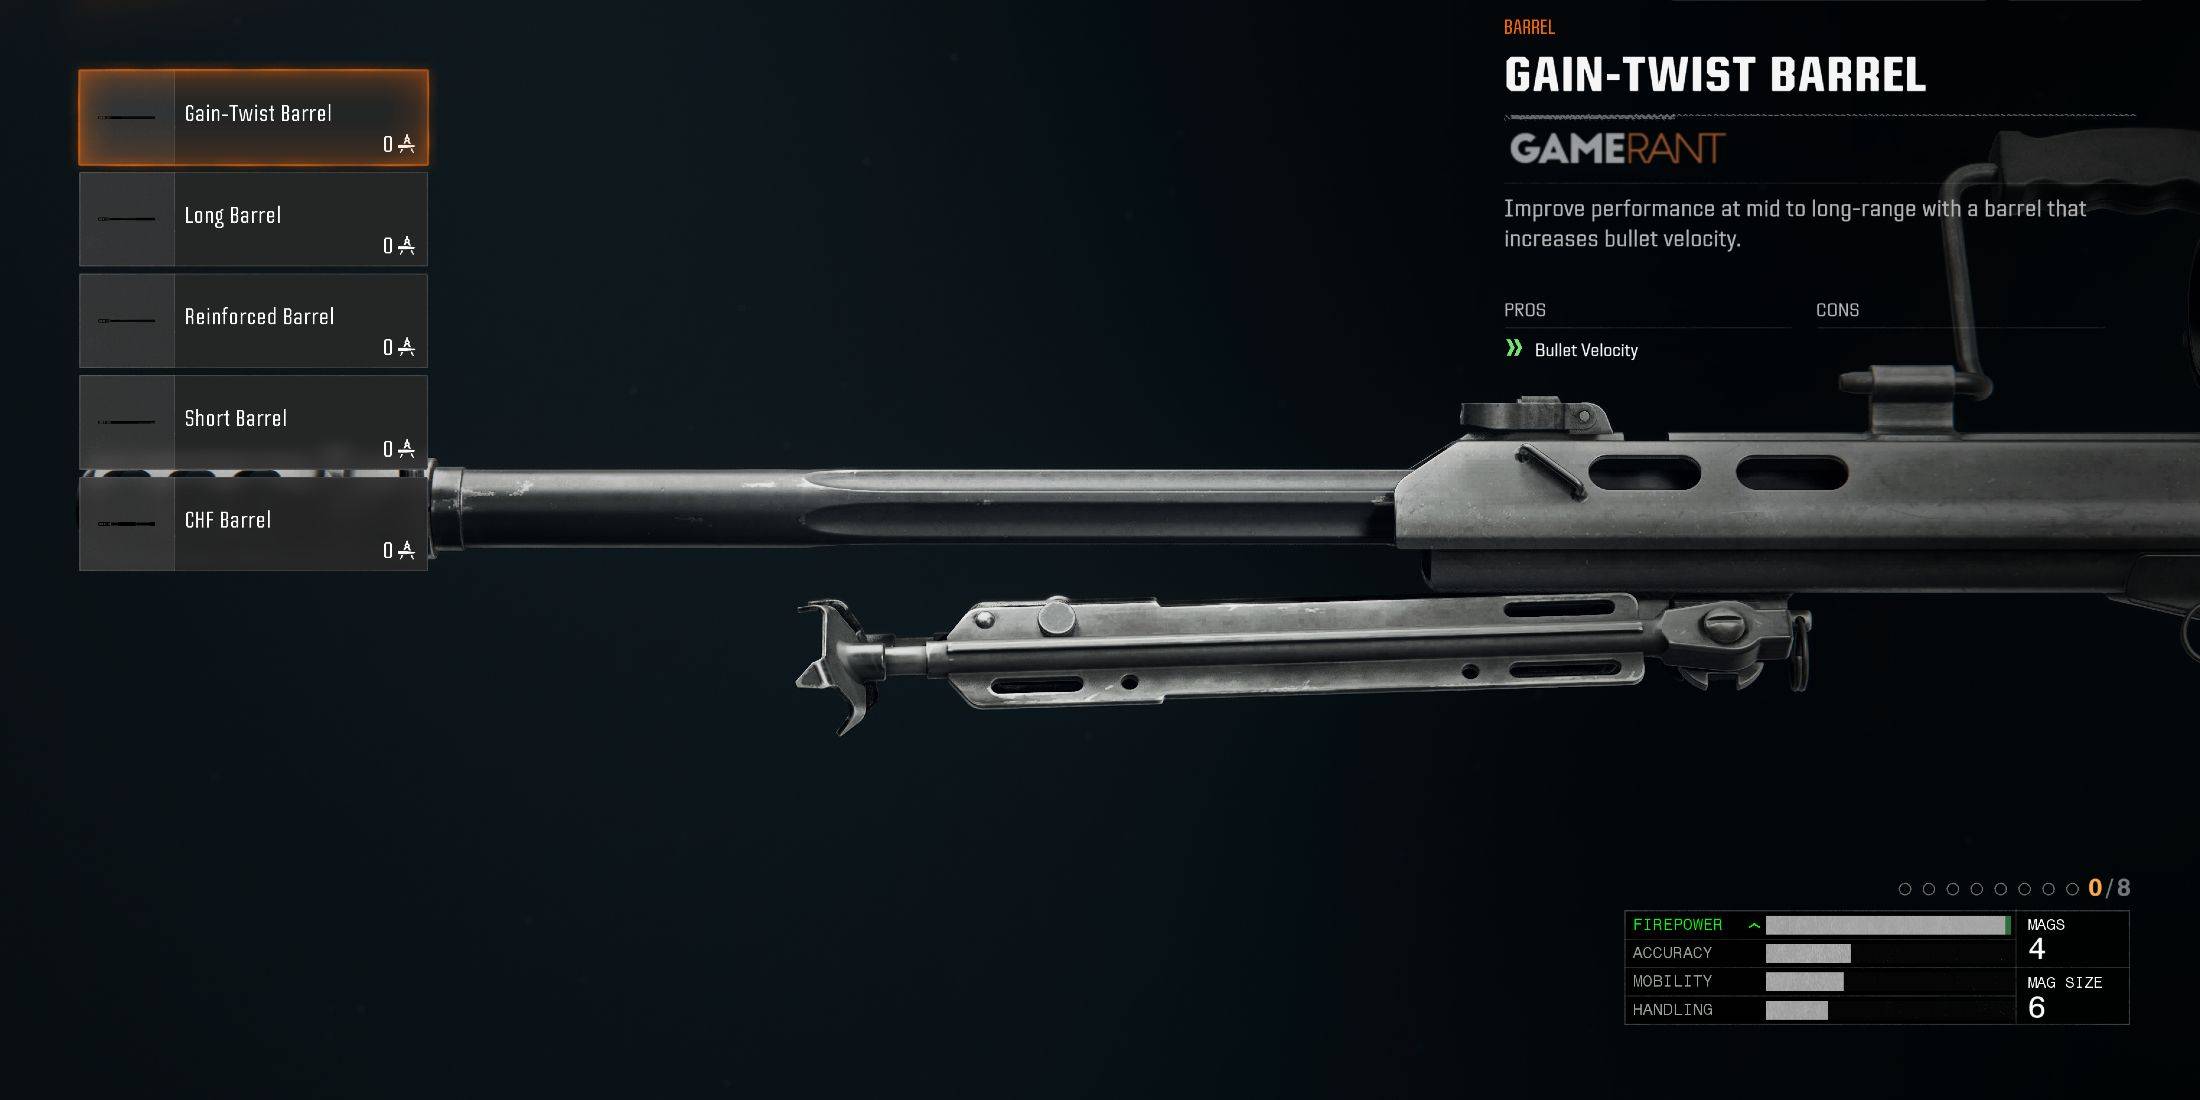
배럴
| Attachment | Pros | Cons |
|---|---|---|
| Gain-Twist Barrel | Increased Bullet Velocity | |
| Long Barrel | Increased Damage Range | |
| Reinforced Barrel | Increased Damage Range, Bullet Velocity | |
| Short Barrel | Improved Jumping ADS Speed, Sprint to Fire Speed | |
| CHF Barrel | Increased Legs Hit Multiplier | Reduced Horizontal & Vertical Recoil, ADS Speed |
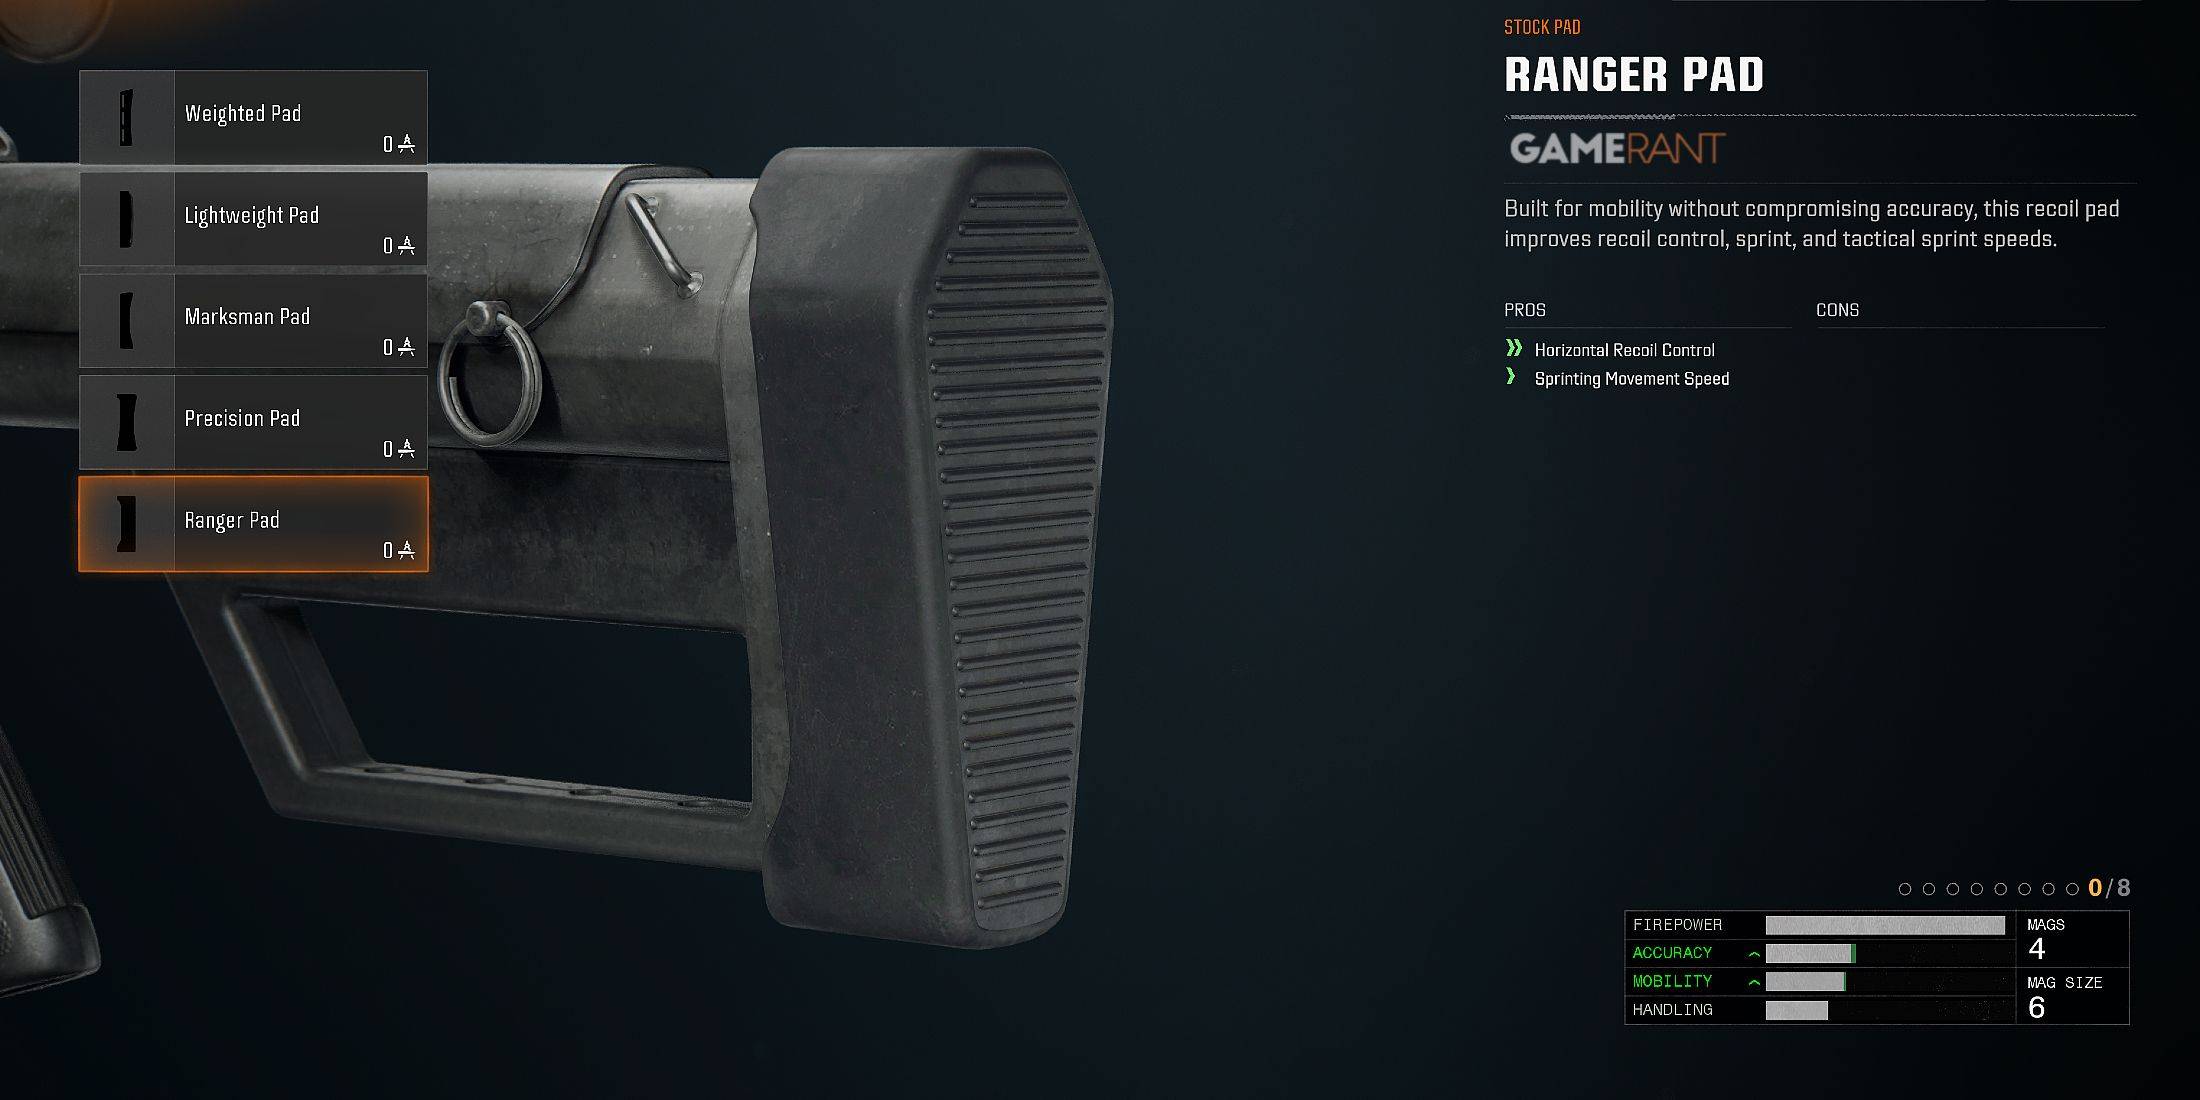
스톡 패드
| Attachment | Pros | Cons |
|---|---|---|
| Weighted Pad | Improved Horizontal Recoil Control | |
| Lightweight Pad | Reduced Aiming Idle Sway | |
| Marksman Pad | Improved Aim Down Sight Focus | |
| Precision Pad | Reduced Aiming Idle Sway, Horizontal Recoil Control | |
| Ranger Pad | Improved Horizontal Recoil Control, Sprinting Speed |
잡지
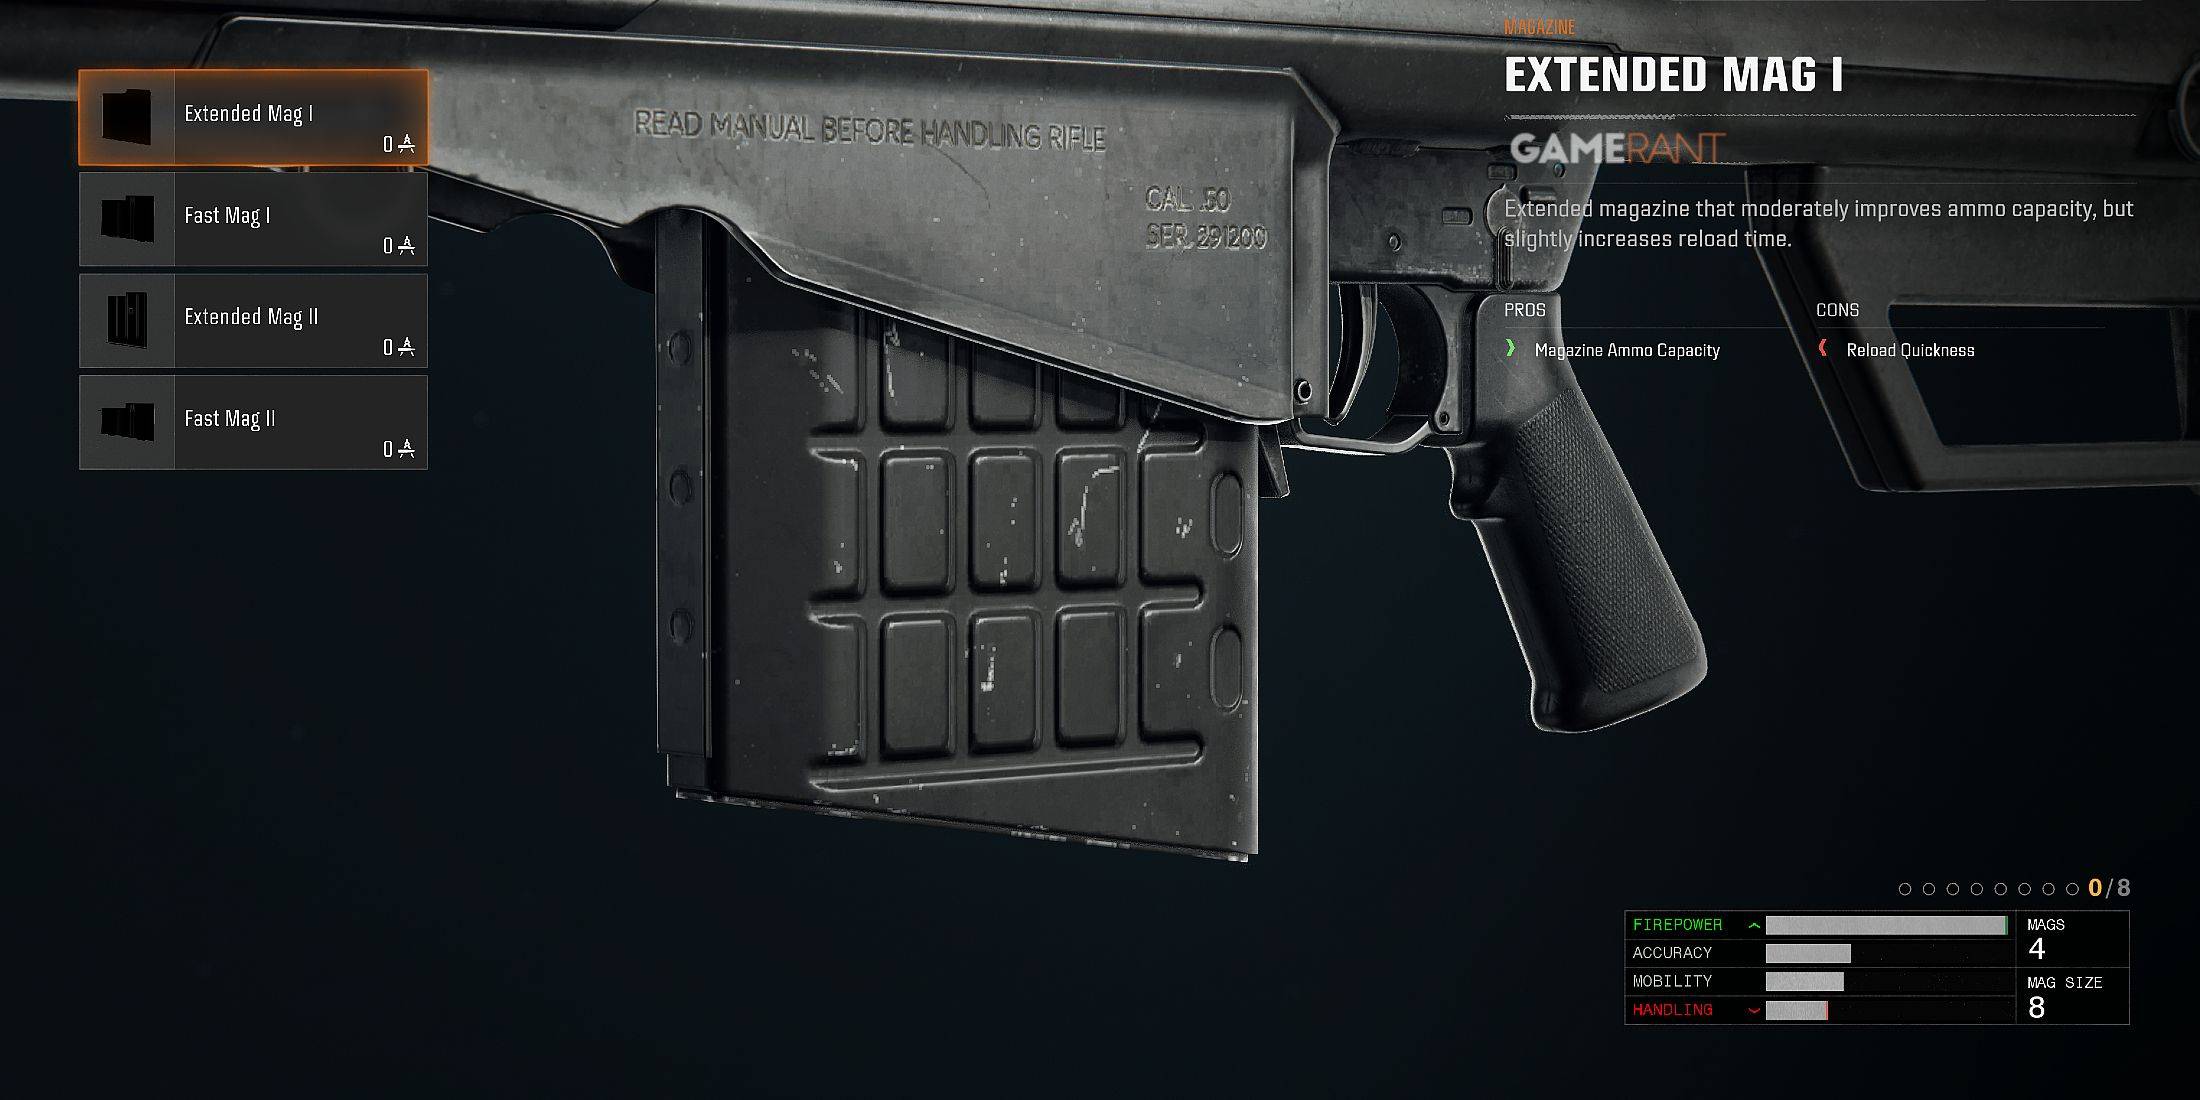
| Attachment | Pros | Cons |
|---|---|---|
| Extended Mag I | Increased Ammo Capacity | Reduced Reload Quickness, ADS Speed, Sprint to Fire Speed |
| Fast Mag I | Improved Reload Quickness, ADS Speed, Sprint to Fire Speed | Reduced Ammo Capacity |
| Extended Mag II | Increased Ammo Capacity | Reduced ADS Speed, Reload Quickness, Sprint to Fire Speed |
| Fast Mag II | Improved Reload Quickness, ADS Speed, Sprint to Fire Speed | Reduced Ammo Capacity |
후면 그립
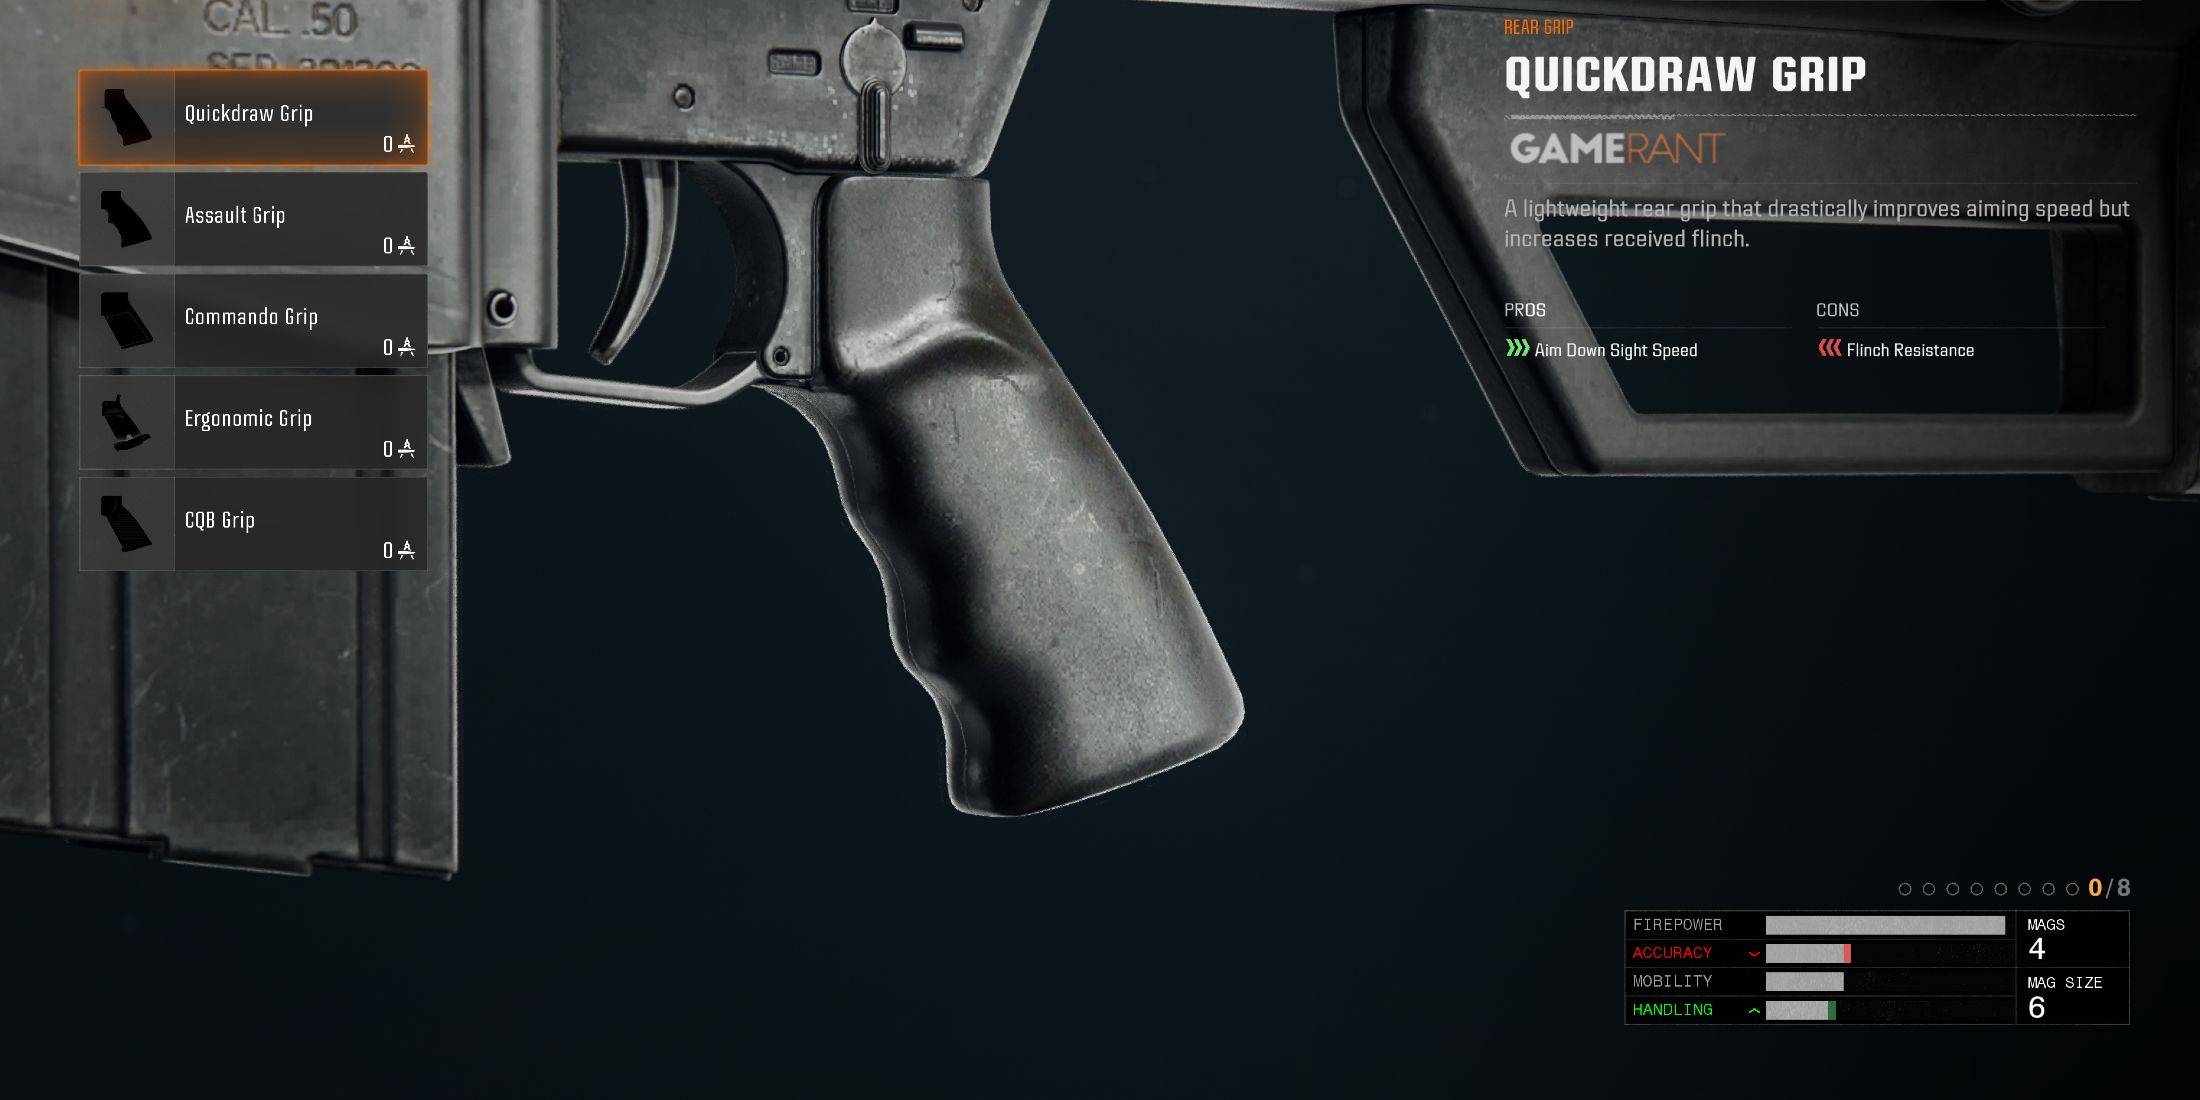
| Attachment | Pros | Cons |
|---|---|---|
| Quickdraw Grip | Improved Aim Down Sight Speed | Reduced Flinch Resistance |
| Assault Grip | Improved Sprint to Fire Speed | |
| Commando Grip | Improved Aim Down Sight Speed, Sprint to Fire Speed | |
| Ergonomic Grip | Improved Slide to Fire Speed, Dive to Fire Speed, ADS Speed | Reduced Flinch Resistance |
| CQB Grip | Improved Dive to Fire Speed, Slide to Fire Speed, Sprint to Fire Speed |
빗
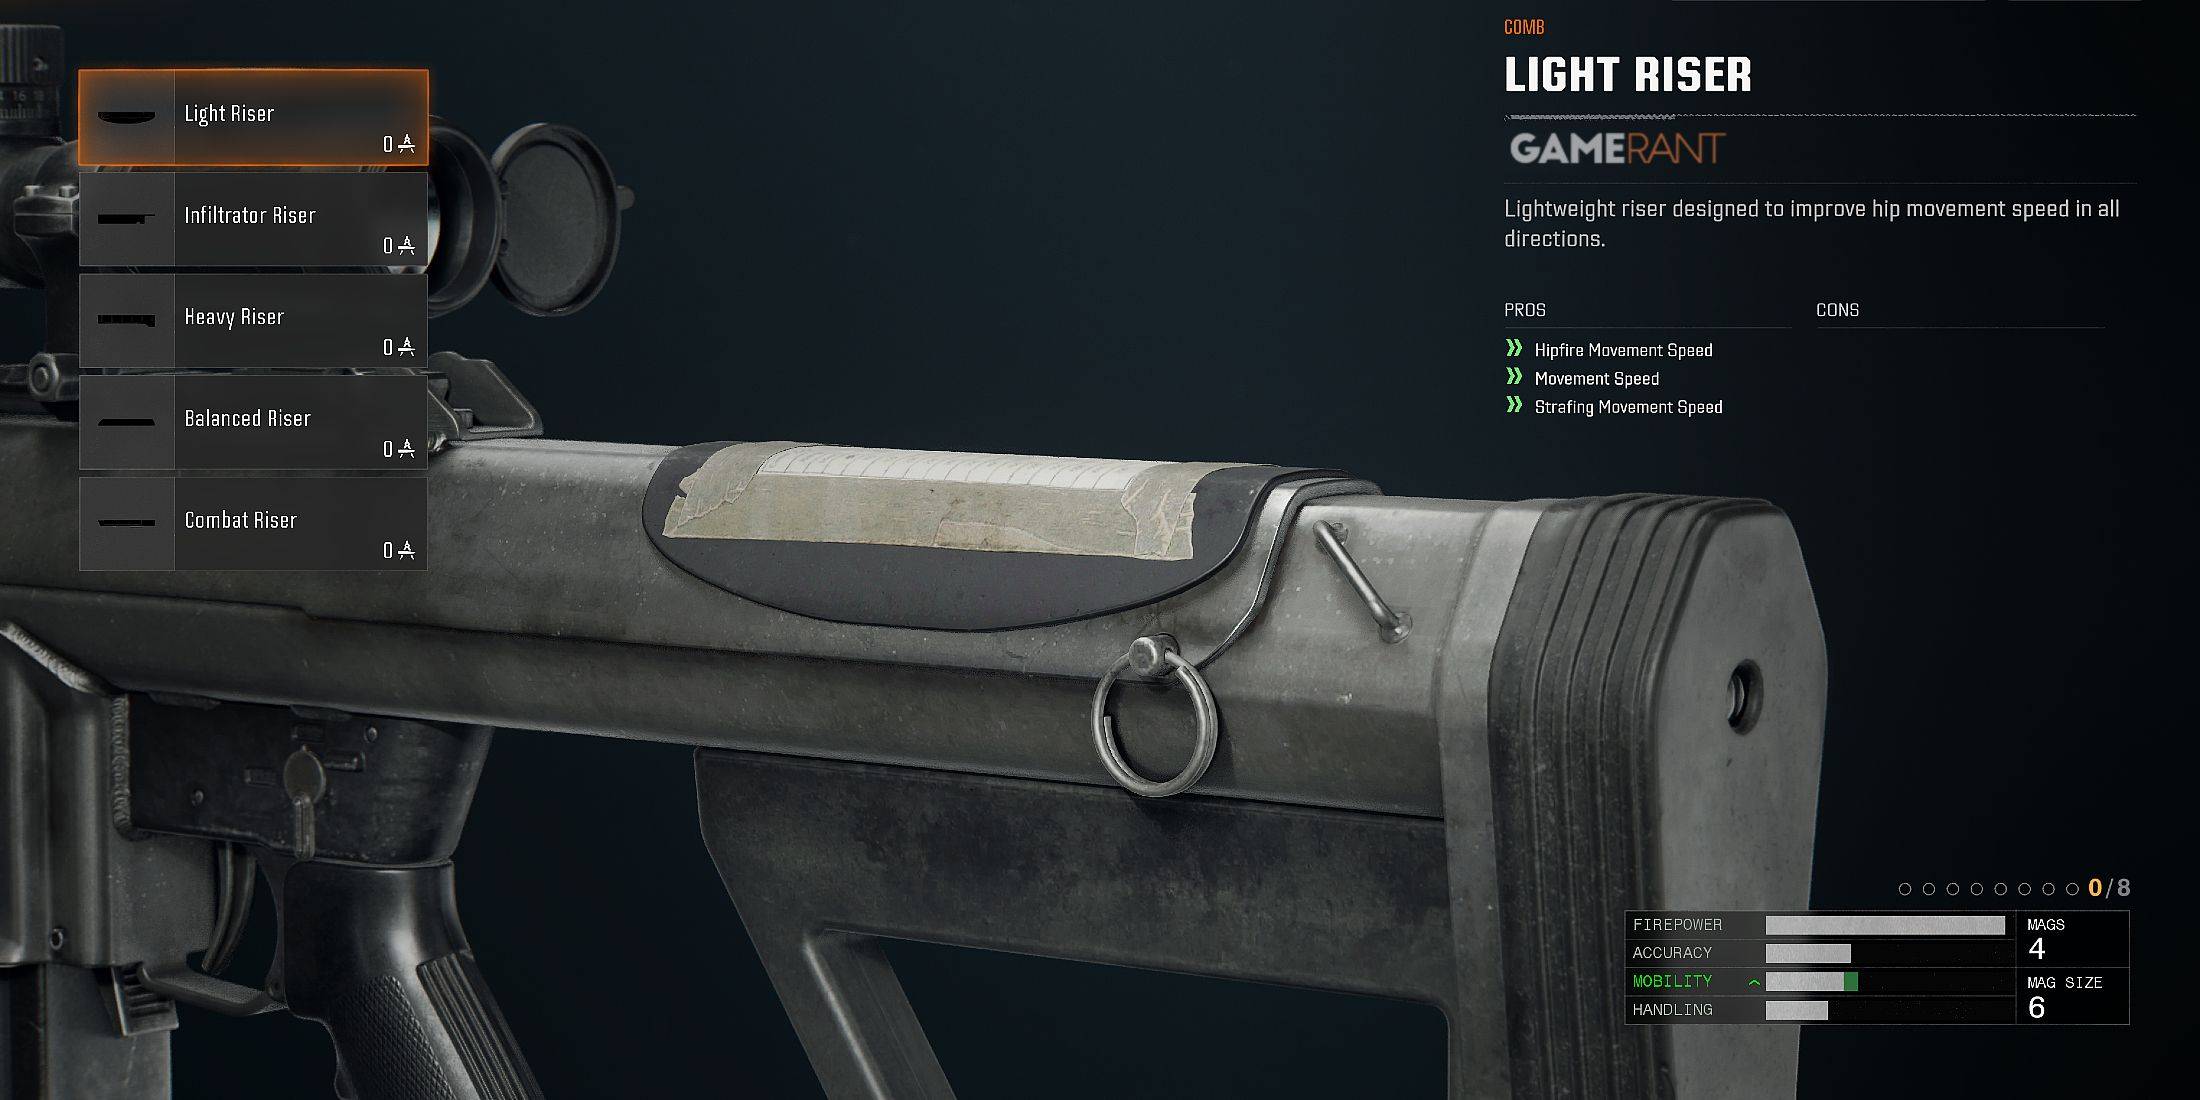
| Attachment | Pros | Cons |
|---|---|---|
| Light Riser | Improved Hipfire Movement Speed, Movement Speed, Strafing Movement Speed | |
| Infiltrator Riser | Improved Aim Walking Speed | |
| Heavy Riser | Increased Flinch Resistance | |
| Balanced Riser | Improved Aim Walking Speed, Movement Speed, Hipfire Movement Speed, Strafing Movement Speed | |
| Combat Riser | Increased Flinch Resistance, Improved Aim Walking Speed |
레이저
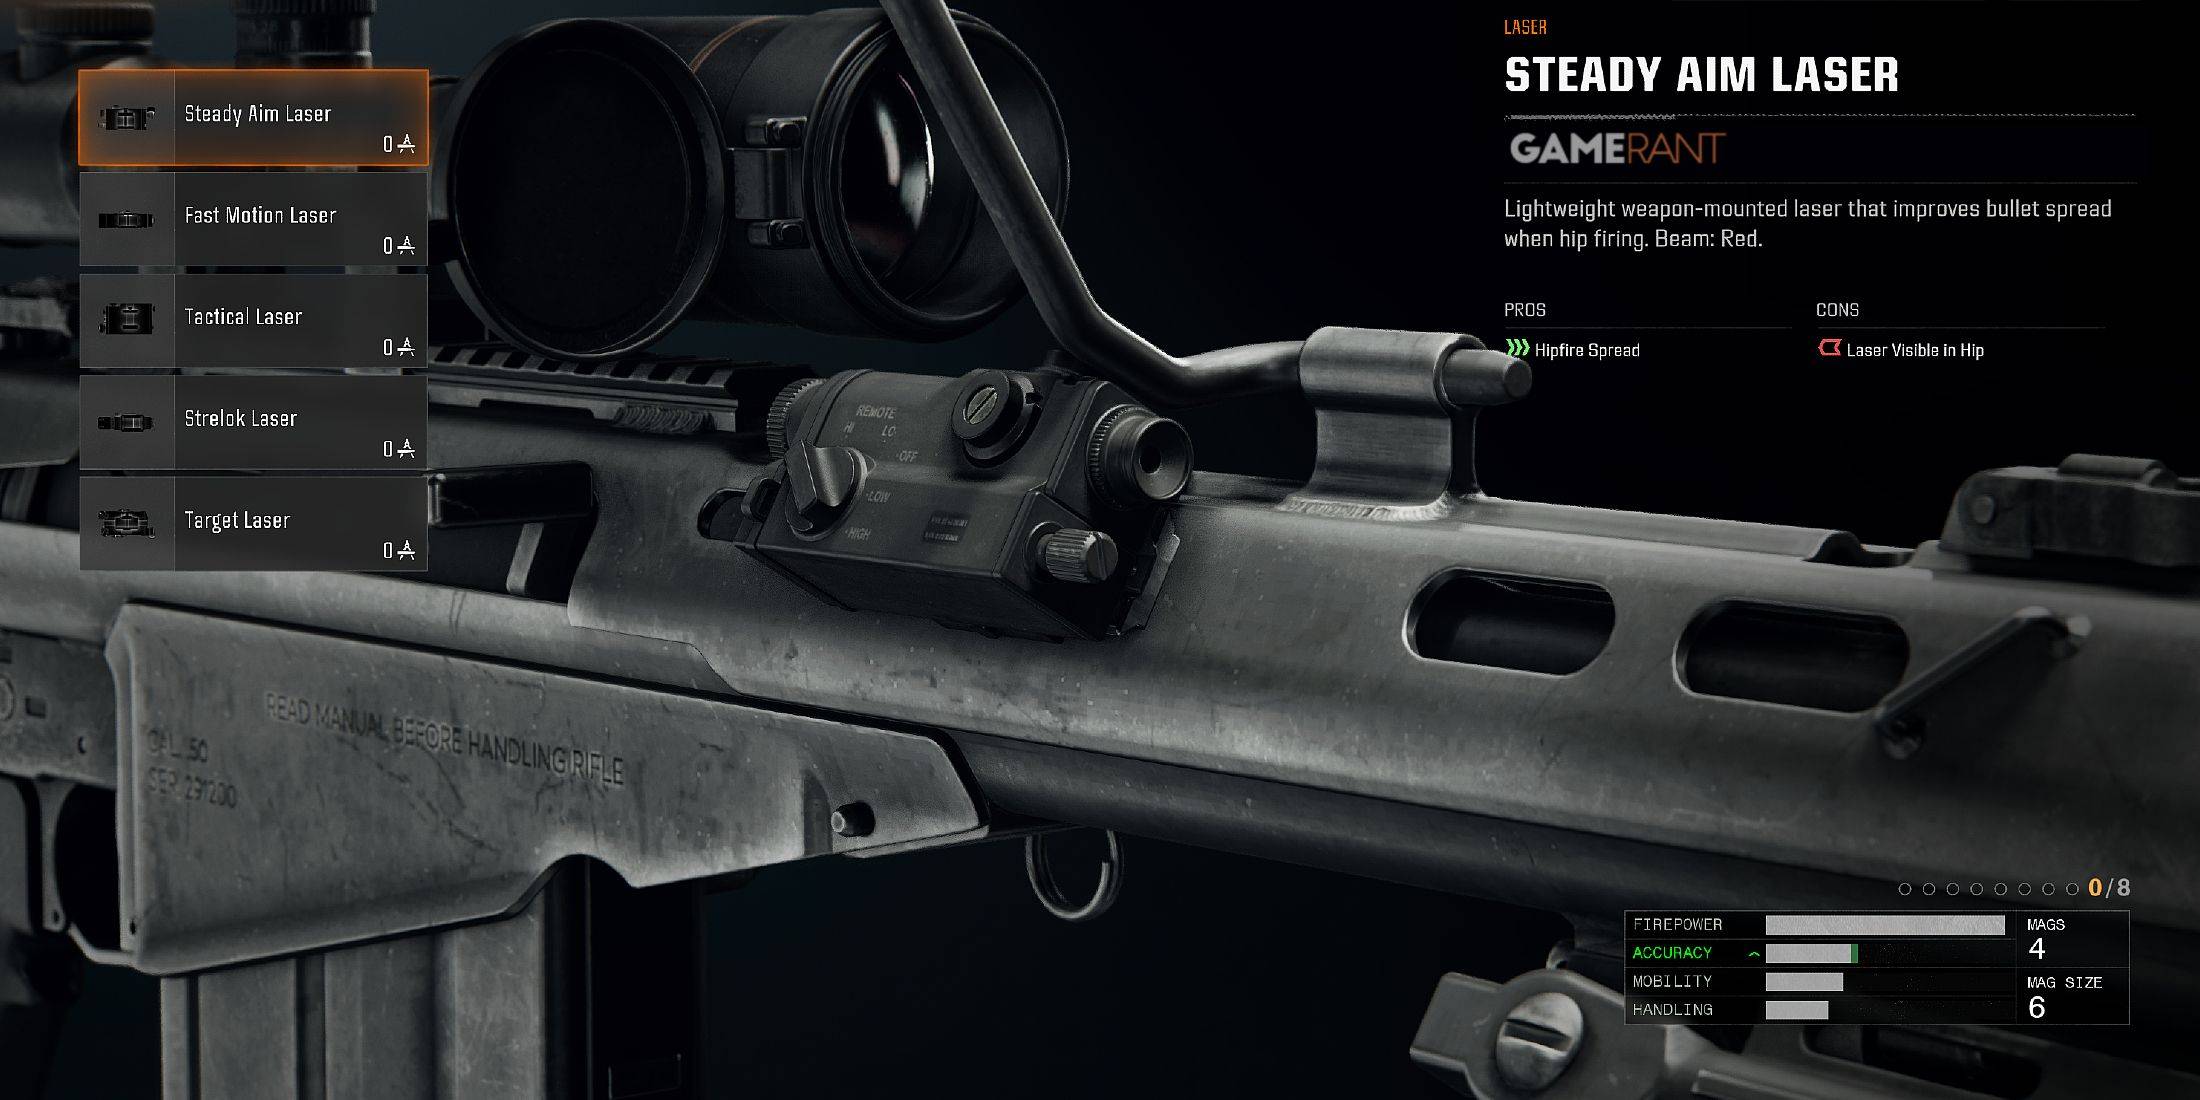
| Attachment | Pros | Cons |
|---|---|---|
| Steady Aim Laser | Improved Hipfire Spread | Laser Visible in Hip |
| Fast Motion Laser | Improved Diving, Sliding, and Jumping Hipfire Spread | Laser Visible in Hip |
| Tactical Laser | Ability to use Tactical Stance | Laser Visible in Tactical Stance |
| Strelok Laser | Improved Hipfire to ADS Accuracy | Laser Visible in ADS |
| Target Laser | Aiming Idle Sway Delay, Improved Aim Walking Steadiness | Laser Visible in ADS |
화재 모드
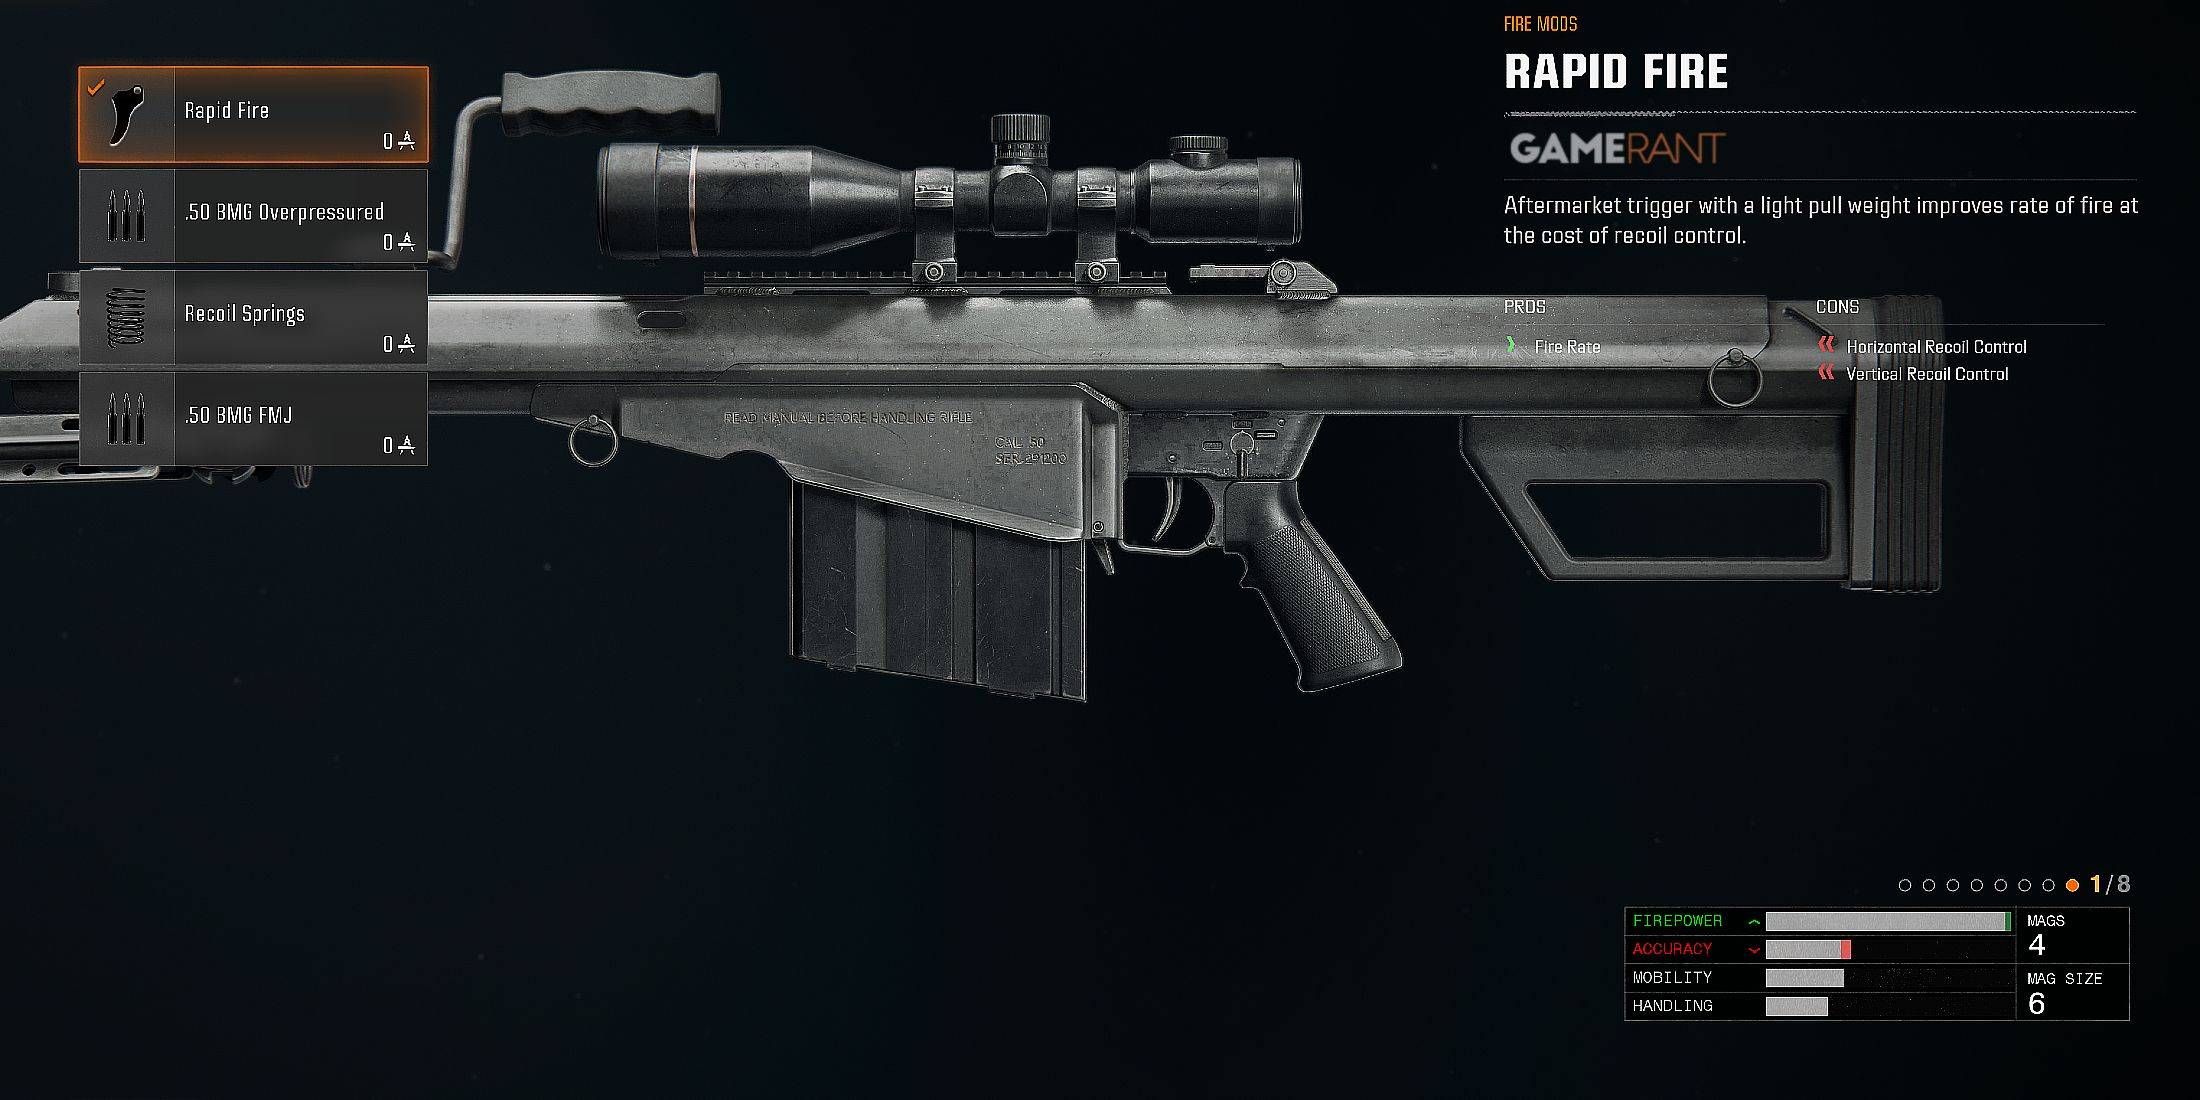
| Attachment | Pros | Cons |
|---|---|---|
| Rapid Fire | Increased Fire Rate | Reduced Horizontal & Vertical Recoil Control |
| .50 BMG Overpressured | Increased Bullet Velocity | |
| Recoil Springs | Increased Horizontal & Vertical Recoil Control | |
| .50 BMG FMJ | Increased Damage Against Scorestreaks, Penetration Damage |
이 포괄적 인 가이드는 Black Ops 6 및 Warzone의 AMR Mod 4의 카모 및 첨부 파일에 대한 완전한 개요를 제공합니다. 행운을 빕니다.